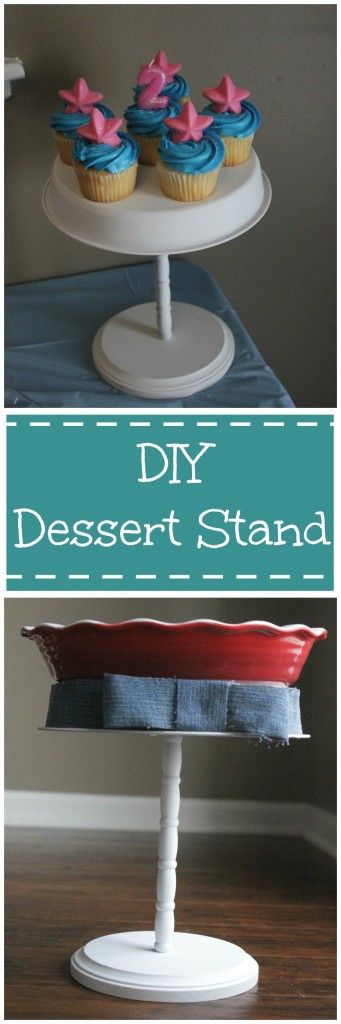
Hey remember when I shared my littles’ Sharks and Mermaids Party? While planning and preparing for this big birthday party I realized I would need two cake/cupcake stands and I didn’t even have one. No problem, I’ll just make matching stands that I can use after the party. I made DIY Dessert Stands, here’s how I did it.
You can use this for a variety of desserts or displays. I only made two but really I should have made a few more. They were easy and really inexpensive.
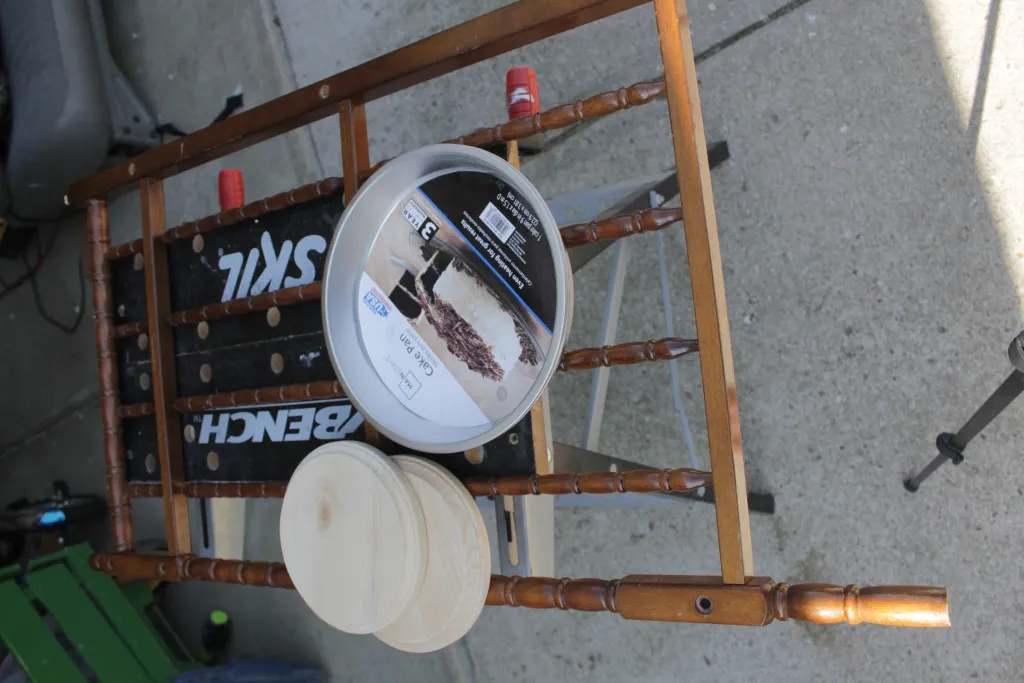
Ironically these stands are made from cake pans. Ha! I found these at Walmart for $.88 each, you can’t beat that. Here’s similar cake pans from Amazon. The support/ spindle pieces I’m using are cut from an old broke changing table. Remember I used spindles to make a Bracelet Holder. If you don’t have anything to repurpose like a changing table you could use something like these dowels on Amazon. The base are just wood circles found at a craft store, I was able to purchase 2 with a coupon for under $3.
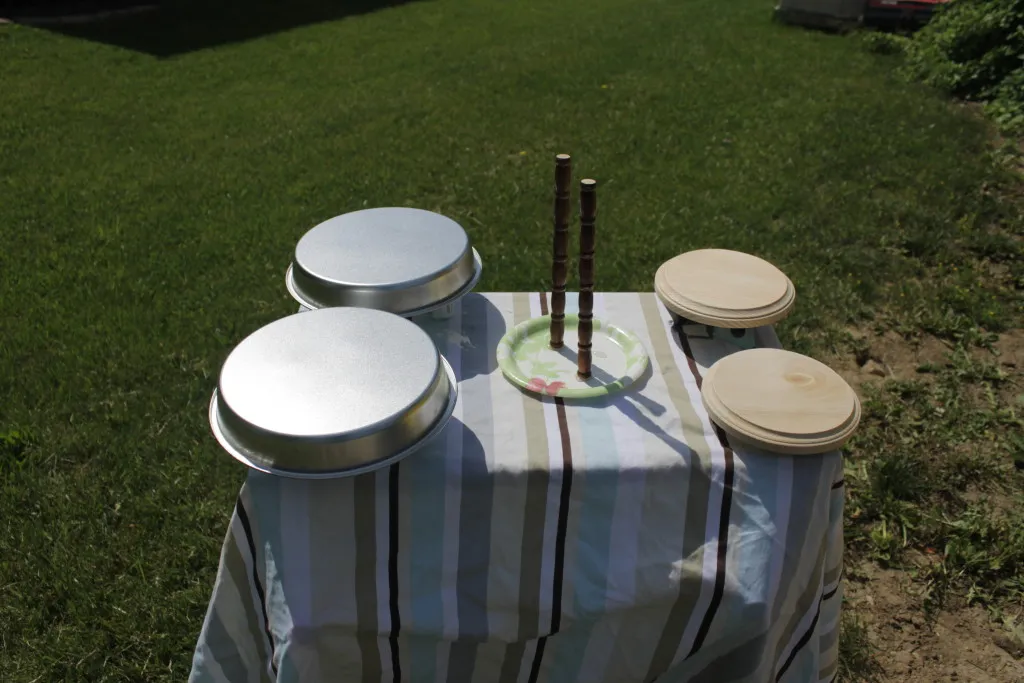
Get all of your pieces ready for paint by cleaning, sanding and wiping down. Tip: I hot glued the dowels to a paper plate so I would get better coverage with the spray paint. Once painted I cut off the glue, that end cant be seen anyway. Spray paint all of your items any color you like. I opted for white.
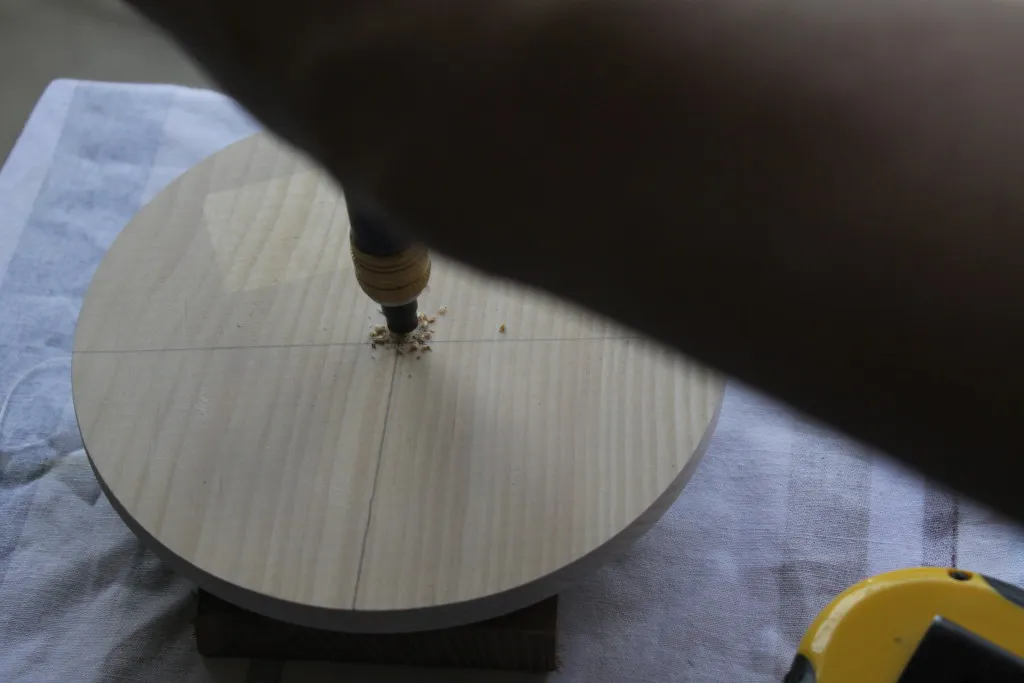
On the bottom side of the base find and mark the center. With a counter-sink bit drill through that mark. Counter sinking will allow you to screw all the pieces together and for the stand to sit level. 😉
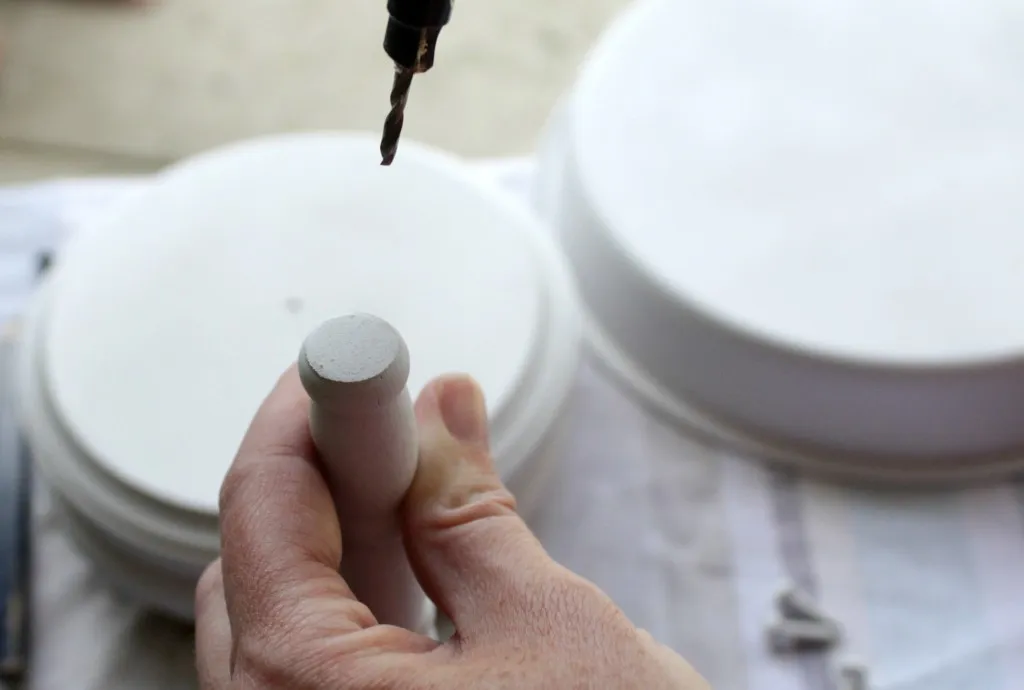
For each spindle find the center of each end and drill pilot holes.
Now attach the spindle to the base with a screw. If you have someone to help hold the pieces for you that would be great.
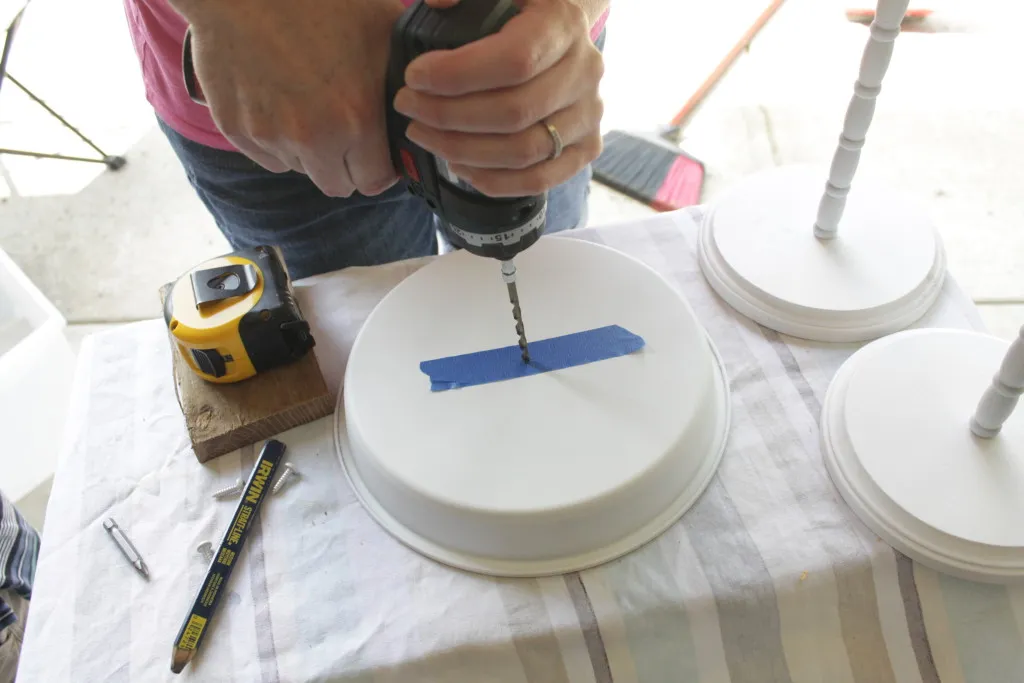
You will need to drill a hole into the center of the cake pan. I covered the center with painters tape so that the drill didn’t scratch the paint.
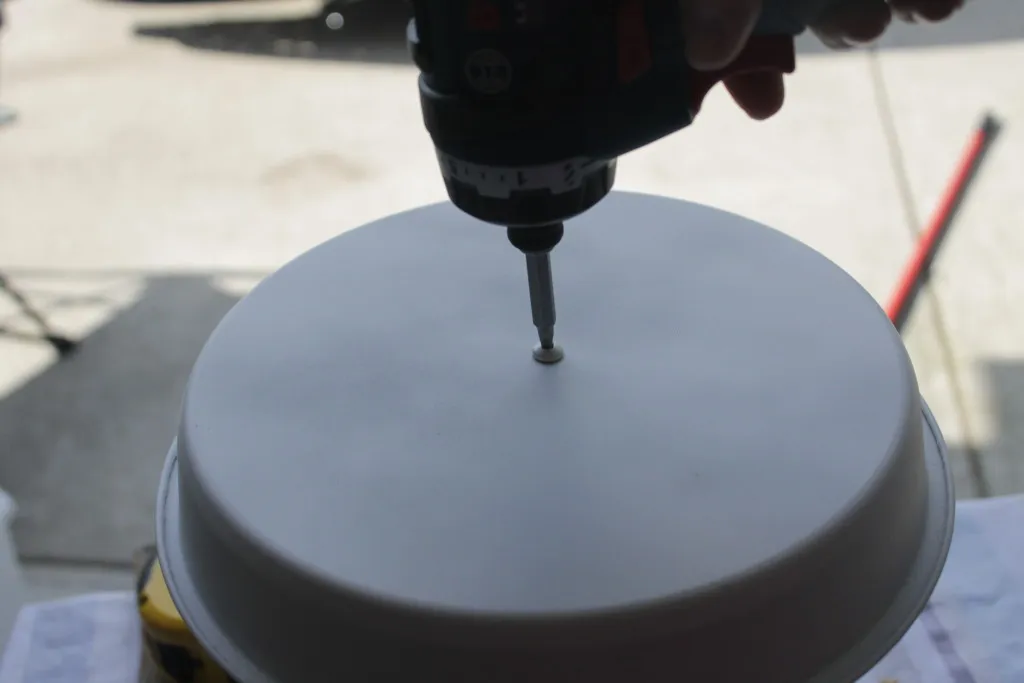
Add the cake pan to the top of the spindles. I used a white screw so it would blend nicely.
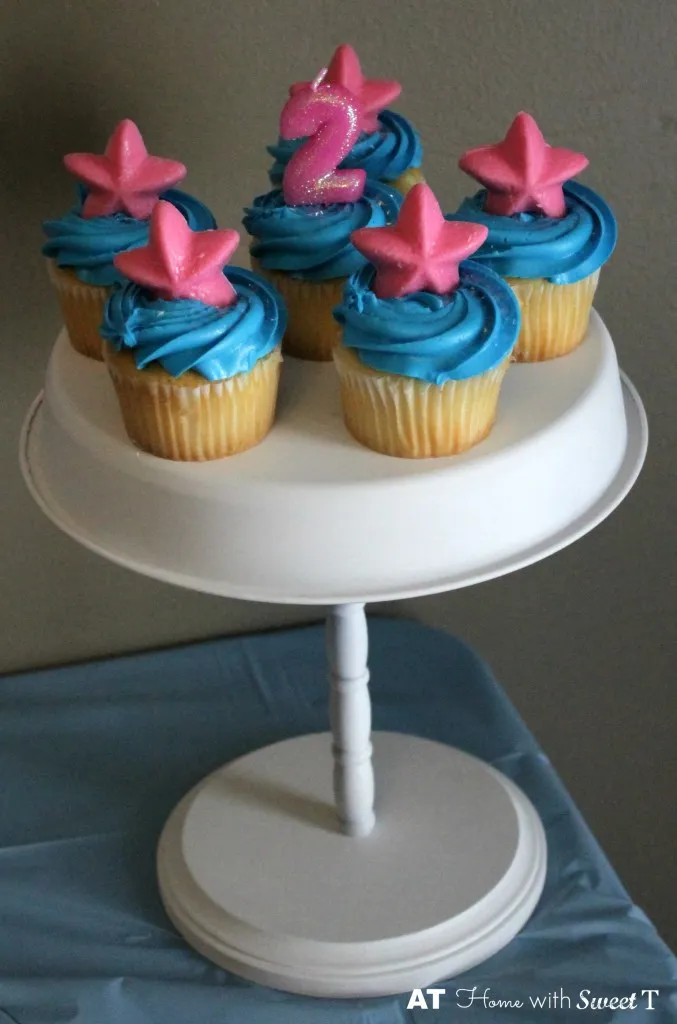
These worked out so great for the party. I’m sure you will see them again at other parties.
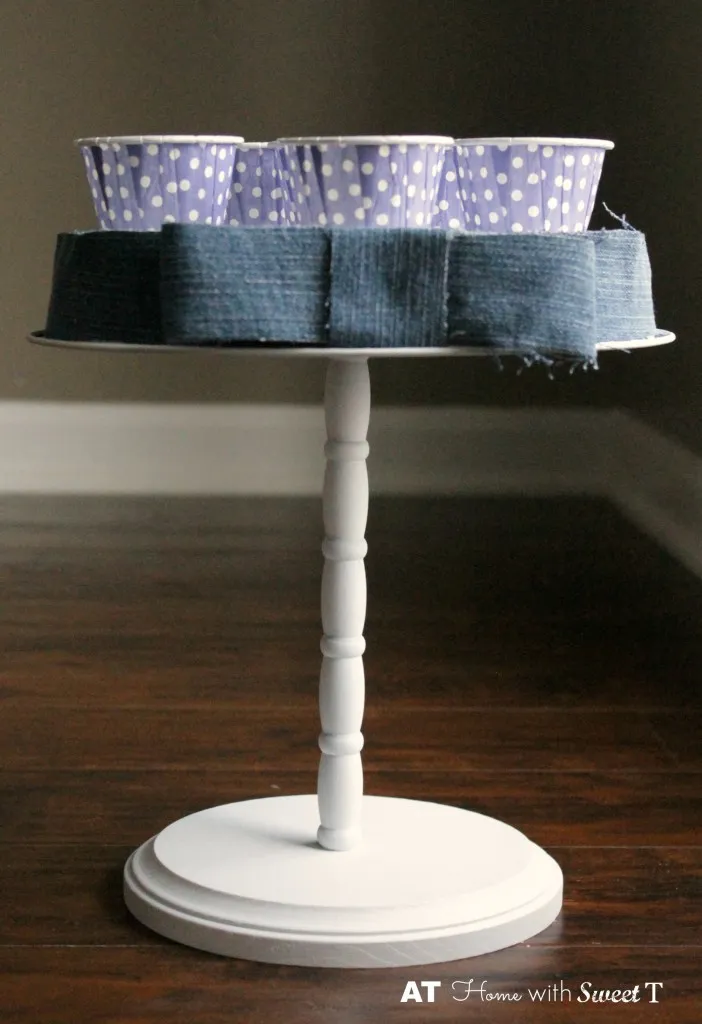
White works well because you can add ribbon or lace or any number of things to the edge of the cake pan to dress it up to fit any theme.
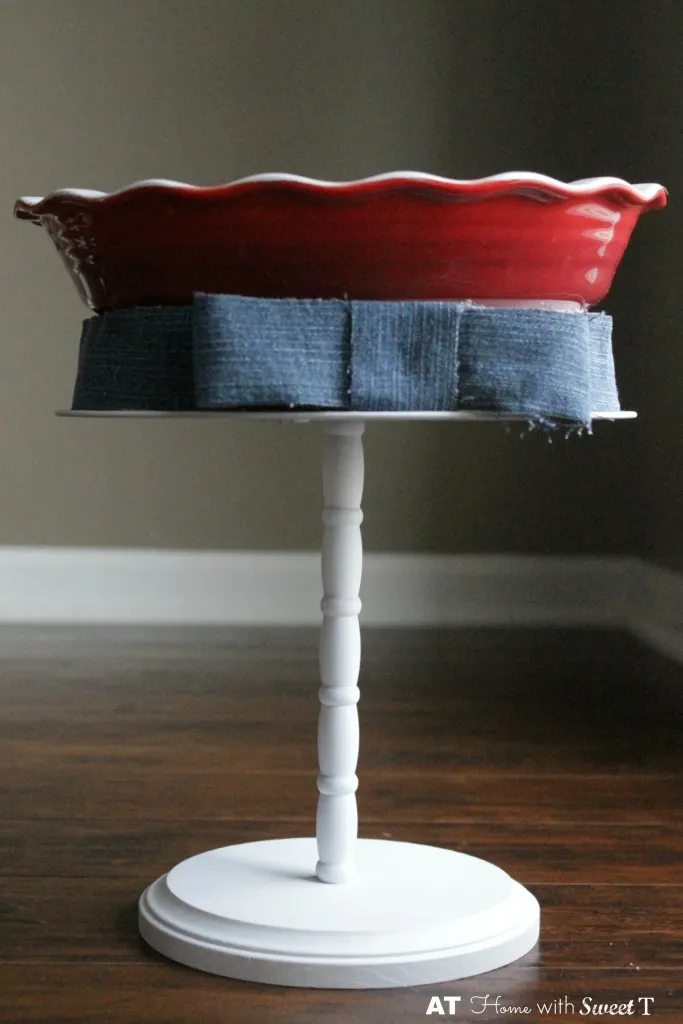
I’m sure it’s no secret that I have a huge sweet tooth. Now that I’m older, it’s kinda becoming obvious how much I indulge in sweets. I guess if I’m gonna do to make desserts it’s good to have a cute place to display them. Ha!
Thanks for stopping by At Home with Sweet T!!!
-Tracy
Here are other posts you will enjoy:
 : Bread Tin
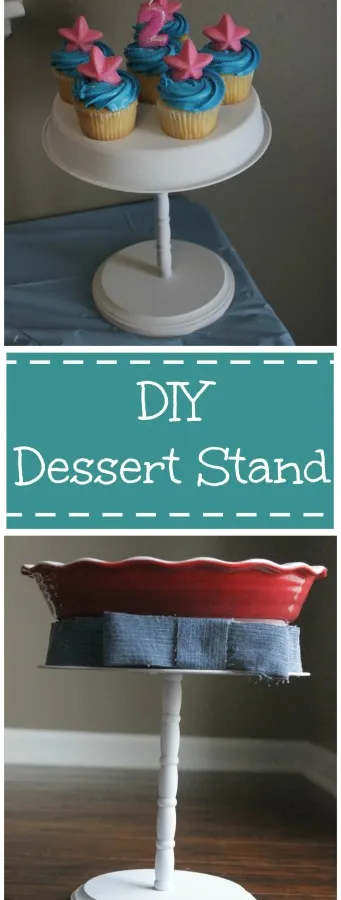
Pin this for party day
Save it to a Pinterest board and it will be there when the party is.
Save to Pinterest