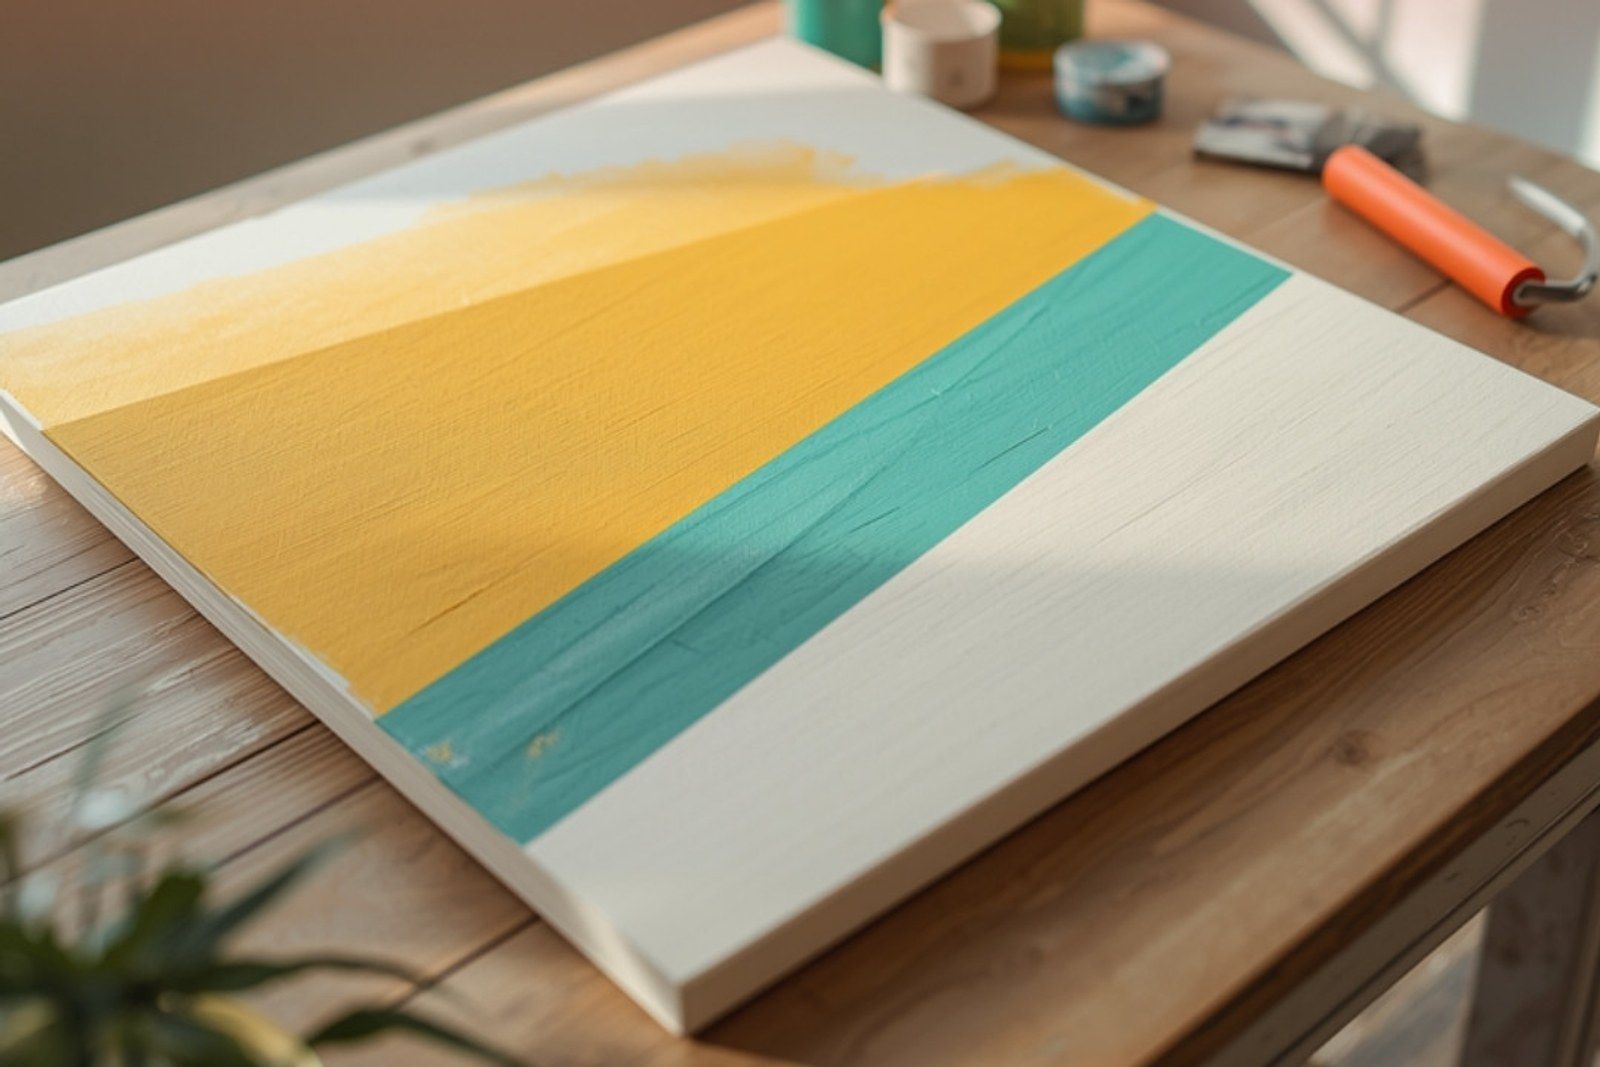
I am creative and crafty but not really artistic. I’ve said it before our walls are kind of bare around here. I am putting my crafty creativeness to good use and filling our wall spaces. I felt like our dinning room wall needed something. It’s not a large space but it’s an empty wall which makes it look larger. Here’s how to create custom art with no artistic talent.
I like to save things that I can do something with too (I know stating the obvious). So I had this “art” thing that I’ve saved for several years. It was a gift a long time ago and a long time ago it matched some decor and fit but since my life has moved on in a different direction it hasn’t matched anything. This isn’t canvas, but I believe it’s MDF “box” with a print on it then on top some sort of sealer was applied leaving brushstrokes visible to look as if it was a painting. The ends have wrought iron scrolls. So if you don’t have one of these, as I’m sure very very few people do, you can use a canvas. I would have used canvas if I had one.
So to begin I removed the iron scrolls from the ends by just removing screws. Then covered the entire “canvas” with Americana multipurpose satin in Night Sky (Navy). It took two coats for a nice coverage. Mostly this was to cover the original artwork and to start with one background color.
On my paint pallet I added some of the Night Sky color and some white. I pulled and mixed the colors some, I totally felt like an artist when I was doing this.
This part is easy because you just keep working it until you get the desired results. If you think it’s too dark, add more white vice versa, too light add more color. Even after you’ve applied it to your canvas you can lighten or darken it. If an area is too dark load your brush with lighter paint and brush over it.
You want to paint this layer on all in the same direction. Here’s how mine looked once done:
Now you’ll need this clever painting tool…….a toilet paper tube. It worked perfectly. I tried to freehand but it just wasn’t working for me.
-
Pinch the toilet paper tube into a rain drop shape.
-
Test your shape before applying to the canvas.
3. I used only white on my paint pallet for this part. “Dip” the toilet paper tube into the paint and then around your pallet. too much paint on the tube makes splatters and too little leaves open gaps. Open gaps are easier to fix, just use a small brush to fill in where needed.
- I placed a bottle of paint on the center of the canvas as a reference point and painted 5 rain drop shapes around the center point with the pointed end of the drop all towards the center. So basically I made a flower shape.
From there just use the tube to add more rain drop shapes outward by placing the pointed end between drop shapes. Keep going until your canvas is mostly covered. The end result looks like a flower, perhaps a dahlia. You could stay in a circular shape, or you could continue to fill the entire canvas to all edges. I went to the edges on the shorter sides but stopped going towards the longer ends.
Then for the center make small dots using a pencil eraser.
I’m very happy with the finished look and glad to have another empty space filled on our walls. Of course I had to use blue to fit in with the rest of the house. I LOVE blue! Come back soon for a big project for our dining room.
Thanks for stopping by At Home with Sweet T!!!
-Tracy
Pin this for party day
Save it to a Pinterest board and it will be there when the party is.
Save to Pinterest